How to Design for Drainage in Magnolia, TX: Stop Water Problems Before They Start

If you’ve ever stepped outside after a heavy rain and found standing water in your yard, you already know how frustrating — and damaging — poor drainage can be.
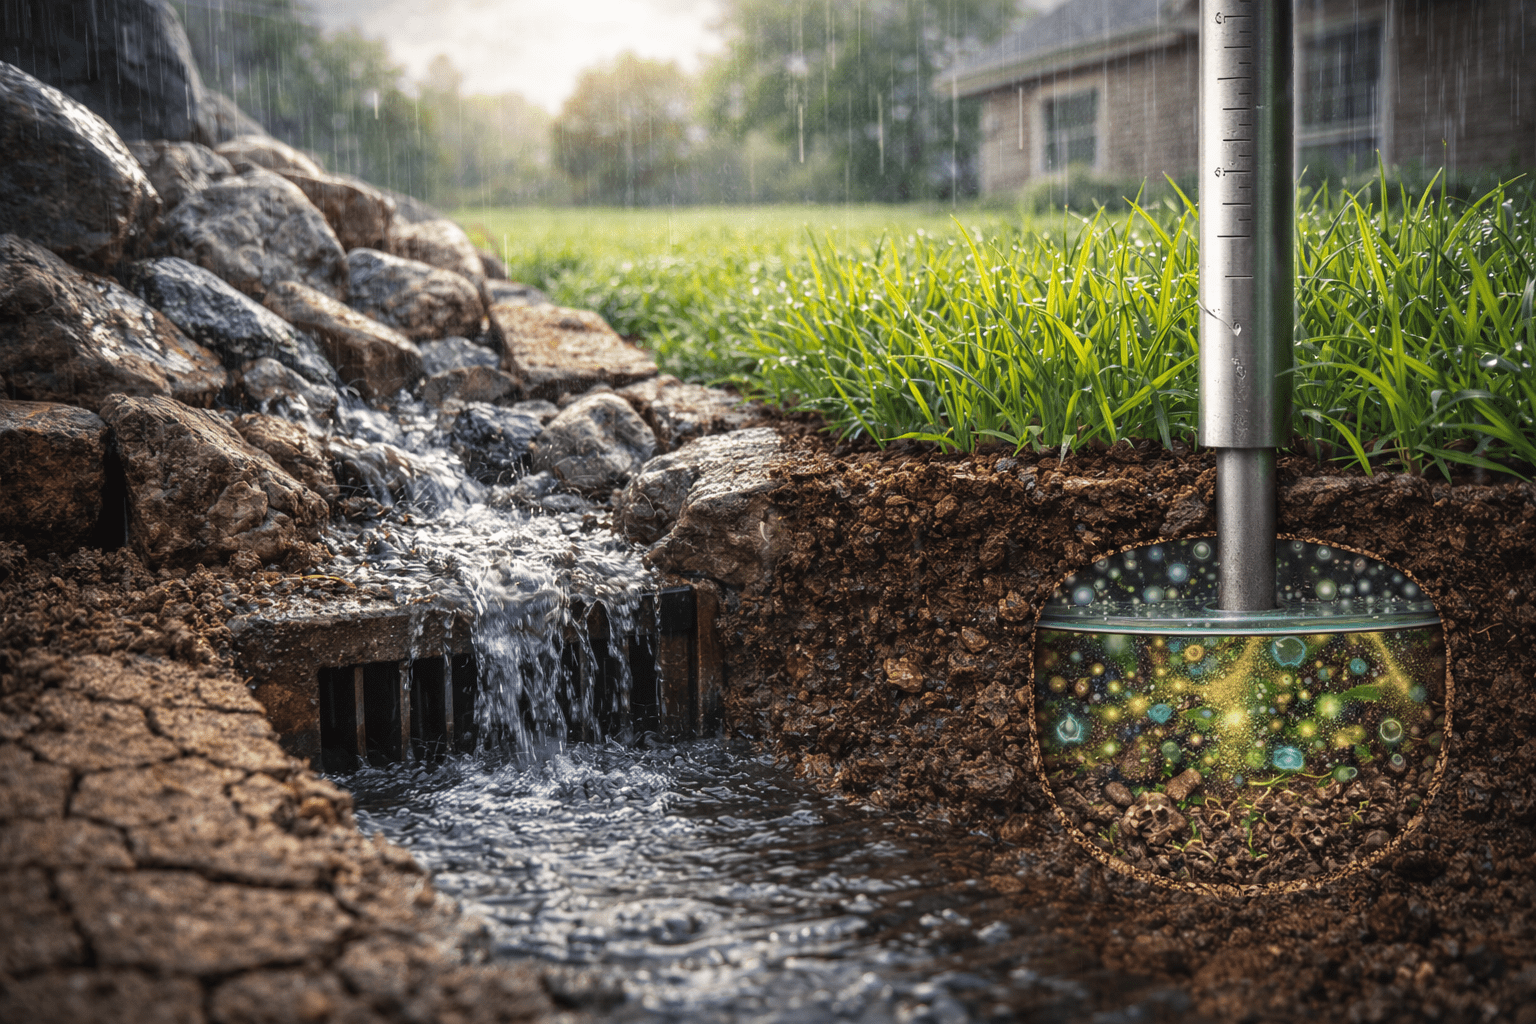
In Magnolia, Texas, where heavy clay soil and flat terrain are the norm, drainage isn’t just a landscaping “extra.” It’s the foundation for a healthy, long-lasting outdoor space. Without it, even the most beautiful lawn or patio can quickly become a muddy, unusable mess.
This guide walks you through how to design a drainage system that works for our unique local conditions, protects your home, and helps your yard look great year-round.
Why Drainage is Such a Challenge in Magnolia
- Clay-heavy soil holds water instead of letting it soak in.
- Flat terrain means water has nowhere to naturally run off.
- Sudden downpours can overwhelm yards in minutes.
- HOA restrictions may limit where you can move water.
- Foundation risks — water pooling near your home can cause costly damage.
Step One: Get the Grading Right
- Aim for a positive slope of 1/4 inch per foot away from your home and toward designated exit points.
- Correct any low spots where water collects.
- Shape lawns, beds, and hardscape areas to naturally direct water to the drainage system.
When grading is done right, it minimizes the load on your pipes and makes the whole system more efficient.
Step Two: Use the Right Pipe — and Size It Correctly
- We recommend SDR35 smooth PVC pipe — it’s strong, long-lasting, and allows water to flow much faster than flexible corrugated pipe.
- Avoid pop-up emitters unless your HOA requires them. They restrict flow to about 40 gallons per minute (GPM), which can become a bottleneck for your whole system. A smooth, unrestricted exit is always best.
- Avoid hard 90° turns — they can catch debris and make it difficult to clean your system later. Use long-sweep 90s, or better yet, 45° bends to keep water and debris moving freely and make future maintenance easier.
- Remember: Your drainage is only as good as its weakest point. If inlets are too few or too small, they’ll limit how much water the system can handle.
Pipe flow rate comparisons at a 1% slope:
- 4″ corrugated pipe → ~46 GPM
- 4″ smooth PVC → ~123 GPM
- 6″ smooth PVC → ~364 GPM
Increasing slope improves flow rates, but pipe size — and the smoothness of your path — still matter, especially in heavy rains.
Want to check if your drainage system is sized correctly? Use this NDS Drainage Calculator to determine how much water your property needs to handle.
- Set storm frequency to 10-year storm with a duration of 10–15 minutes for standard design.
- For extra protection, use 25-year storm with the same duration.
Step Three: Add Functional Design Features
- Dry creek beds for properties where the style fits — they slow water, add beauty, and help prevent erosion.
- Decorative swales that double as garden features.
- Using stone or gravel channels where water naturally flows.
Step Four: Keep Drainage Paths Clear and Properly Sloped
- Keep drainage areas clear — no planting beds, mulch piles, storage sheds, kids’ toys, or other obstacles in the way.
- Observe during a rainstorm — walk your property while it’s raining to see exactly how water is flowing and if anything is blocking its path.
- Check your fence lines — ensure fence boards or kick boards aren’t stopping water from moving off your property.
Sometimes, a minor blockage is the real culprit behind major drainage problems.
When it comes to pipe slope:
- Don’t rely on a 4-foot level — it won’t give you an accurate measurement of slope over longer runs.
- Rent a laser level — they’re easy to use and provide precise slope readings. I’ll be creating a short video soon to show how simple this process can be.
Remember: Proper drainage and landscaping take slope into account. Too little slope can cause standing water, while too much slope can lead to erosion problems. Both extremes can create costly issues — and we’ll be covering the “too much slope” problem in an upcoming blog.
What Does Drainage Work Cost in Magnolia?
| Service | Typical Cost Range |
|---|---|
| Grading only | $1,500 – $4,000+ |
| Area drains with PVC piping | $2,500 – $8,000+ |
| Decorative dry creek bed installation | $3,000 – $12,000+ |
Pro tip: It’s almost always cheaper to design drainage before installing new landscaping. Fixing problems later often costs 2–3 times more.
Recent Posts
The Hydrological Landscape: Mastering Water Movement and Infiltration in Houston Soil
In the Houston and Magnolia regions, water is both a vital resource and a primary threat to landscape longevity. Between intense summer droughts and flash-flooding rainstorms, a property’s “hydrological design”—how…

The Immune System Landscape: Natural Defense Against Pests and Disease
For decades, the standard approach to landscape pests and diseases has been reactive: wait for a problem to appear, then apply a chemical to kill it. However, modern horticultural science…

The Houston Landscape Management Calendar: A Month-by-Month Technical Guide
In the Houston and Magnolia areas, our “growing season” is nearly year-round. This means the traditional rules of landscaping often don’t apply. Success in our climate isn’t about working harder;…